What does your DIY workbench look like?
Mine is currently a work in progress thrown together from random stuff I have accumulated from work. I hope to build a proper workbench once I get the garage cleared out and after I’m caught up on remodeling work in the house.
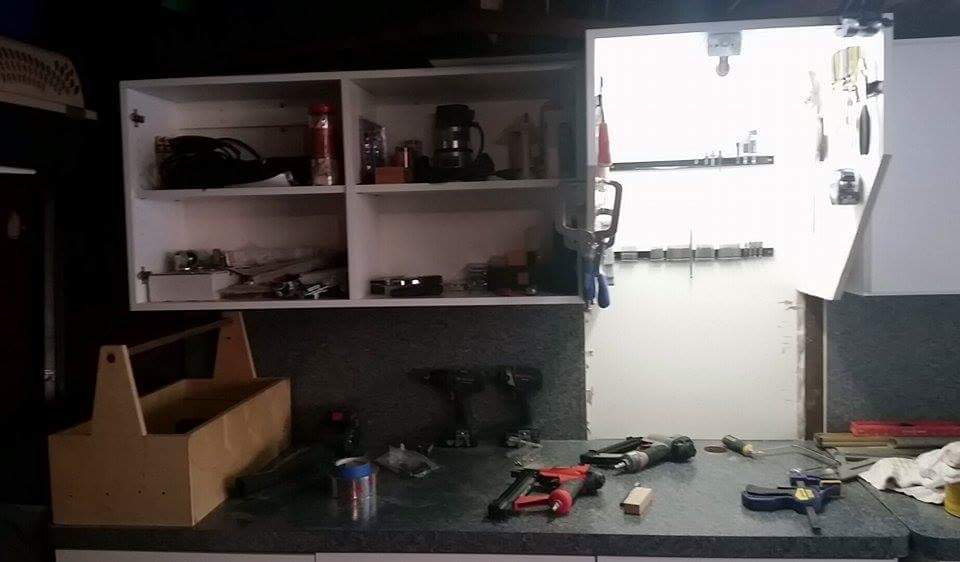
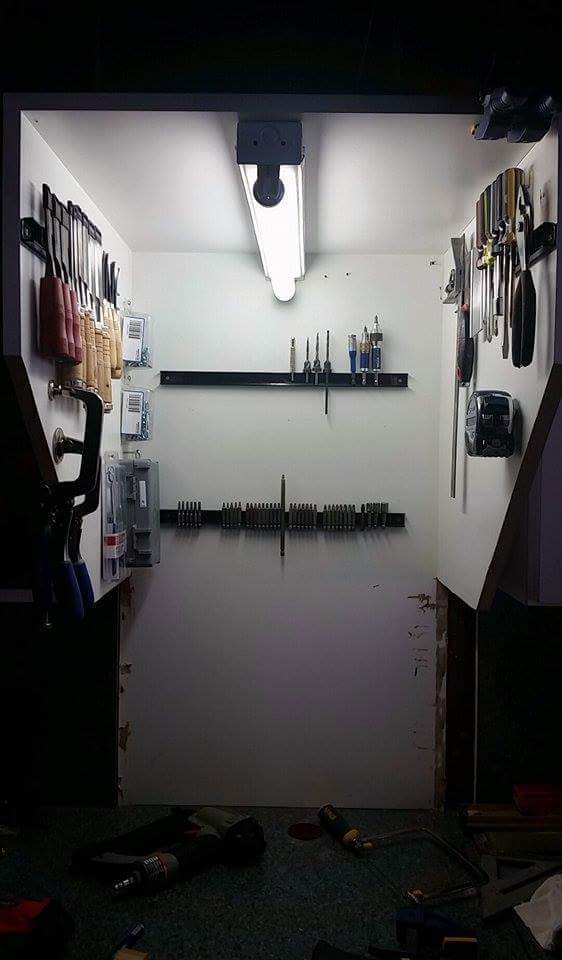
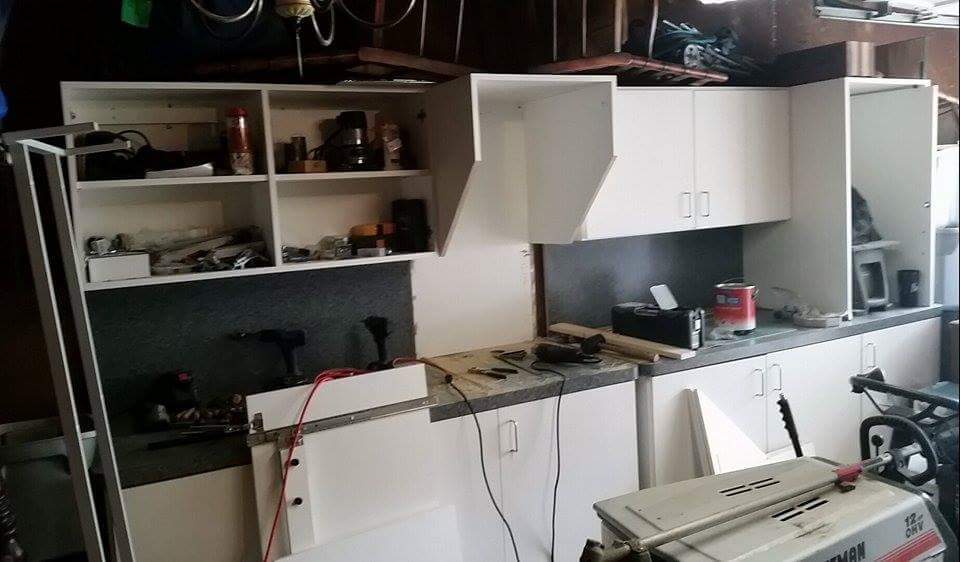
I snagged these two twin former coffee stations from a job where we replaced them, and were going to throw them out. I just cut back the one tall cabinet with the pocket door to make it a continuous worksurface and then I stuck an extra light I had in there. I also started organizing some of my tools on magstrips during a recent garage therapy session.
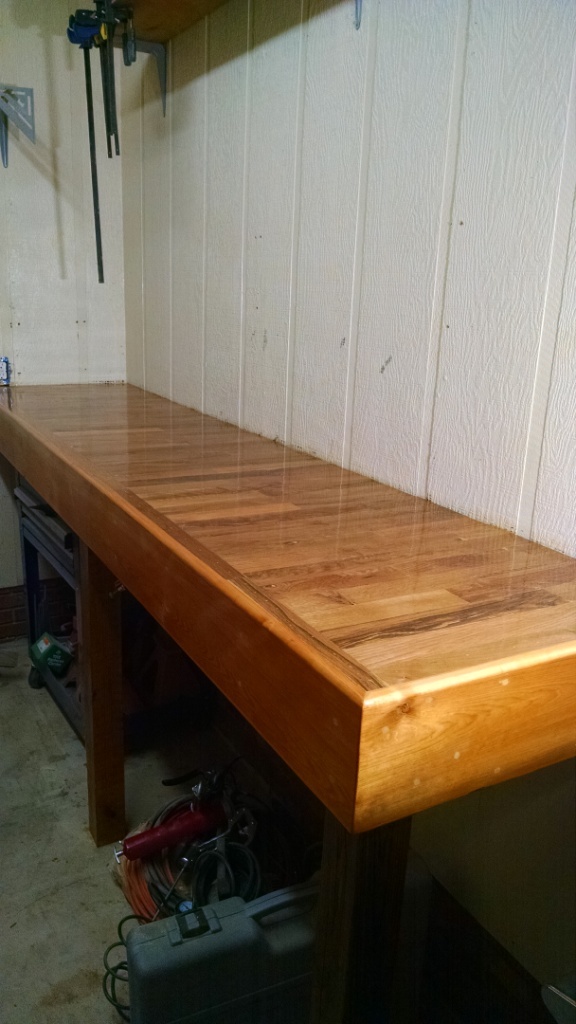
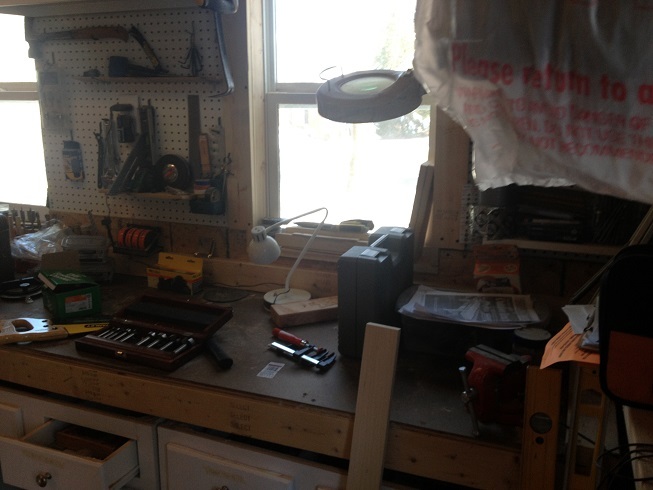
This bench is an old solid core door with wood edgebands I added just sitting on top of two file cabinets. I’ve been using this as one of my main work benches for a few years now as we’ve moved from house to house. there height works perfectly for my miter saw to where the bench on the far side is level with the base of my miter saw (the one in this photo isn’t mine, I borrowed it from a friend for a weekend to run trim).
I just added the drawer bank to the left, another trash pick from work. With the 3/4 top it also sits level with my miter saw.
It’s not pretty, but I like to think Tim Sway would be proud.

2 Likes
I present “Old Iron Top”
I built this workbench over the past couple of weekends. It’s 9’ wide 2’ deep and about 50" high (I’m kind of tall). I also wanted it high so I could sit on my stool and work. My tool cart also fits under it nicely. It’s 2x6’s lagged to the wall with alternating 2x6’s and 2x4’s every 10". 4x4 posts support the front with carriage bolts through the 2x6. all of the joists are pocket hole screwed and glued. 3/4" plywood liquid nailed and screwed to the joists and 3/4" rustic grade white oak t&g flooring stapled on top (hence the Old Iron Sides reference). Doug fir trim around the sides to hide the ugly 2x6’s, lots of sanding and filler. Early American stain and 6 coats of gloss polyurethane. I still need to put some 1/4 round next to the wall this weekend. All she’s missing is a 4" or 5" restored Wilton Bullet vise on the corner and she’ll be ready for work. BTW, anybody want to sell me an old Wilton for decent price?
I have more pics of the build but I’m a new user and I"m limited to one.
1 Like
Mine is also a work in progress, and is being documented at John Heisz’s forum. At the weekend I got the initial build complete with leg assembly and bench top all glued up and flattened. I also added a paper dispenser to give some protection during glue ups and finishing jobs as I have no assembly table.

Here is the picture from last night, chop for the leg vise is cut and planed. I have some interesting ideas about hardware and mechanism for the leg vise.

Whole bench will be finished with some poly to protect against coffee etc! I will be adding quick release vise on the end along with dog holes. I will also add some type of retractable casters for easy movement.
1 Like
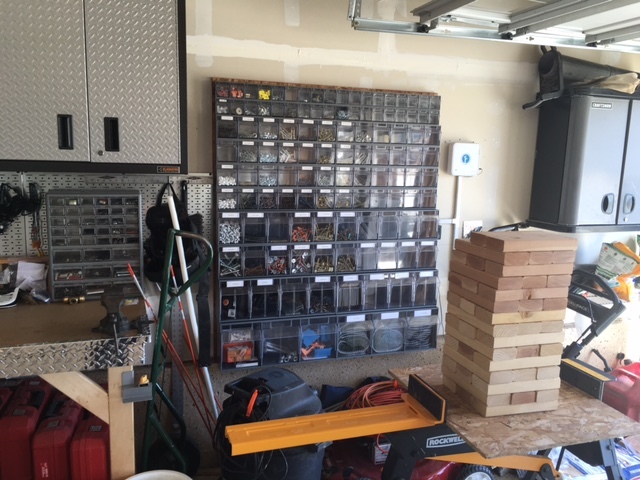
I installed a replaceable masonite top. Then you don’t have to worry about drilling through a piece and permanently damaging your bench. It will damage it but you can easily replace it.
I also put a 2×4 on edge at the back of the bench against the wall. This gives me a little shelf for setting stuff on. It also keeps you from going through the drywall if you are planing or chiseling.
I made the mistake of putting the 2×4 over the masonite so I will need to take that off when I replace the top. Don’t do what I did.
1 Like
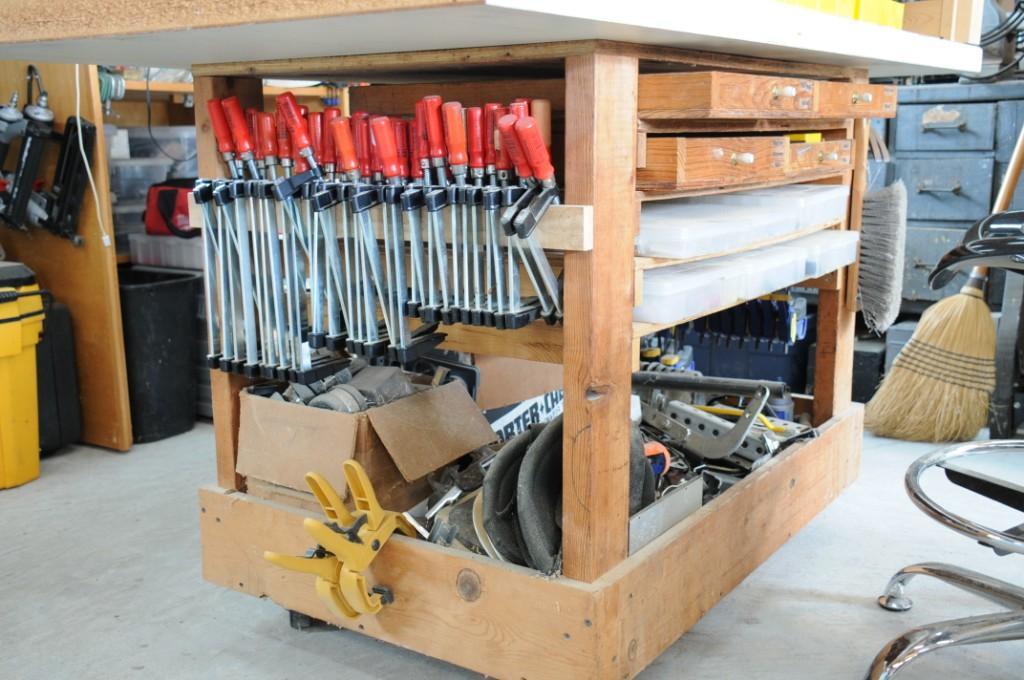
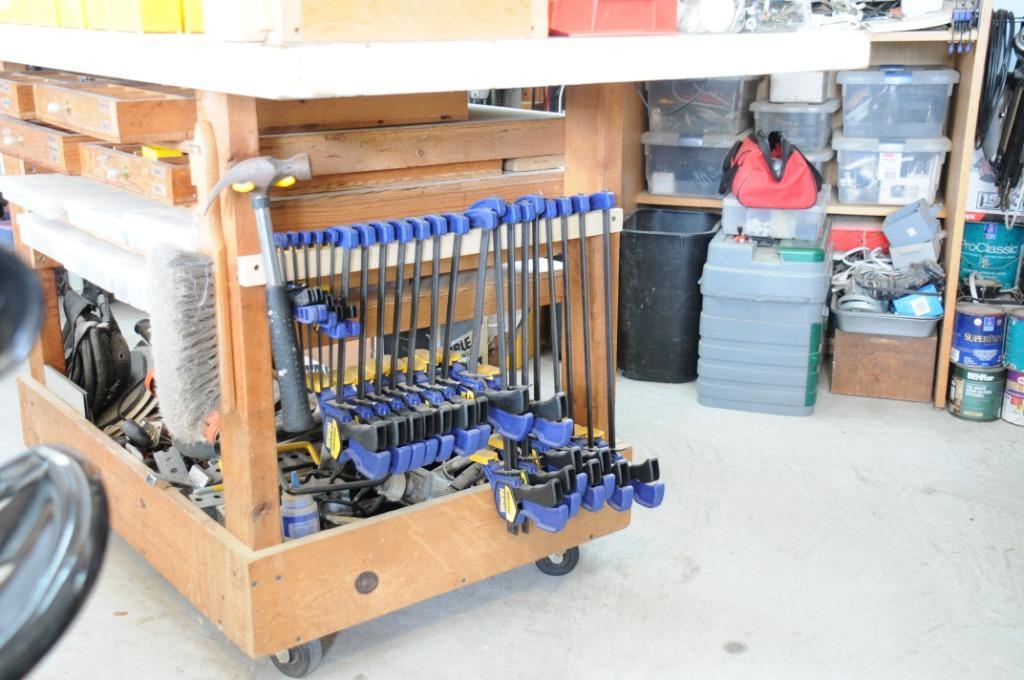
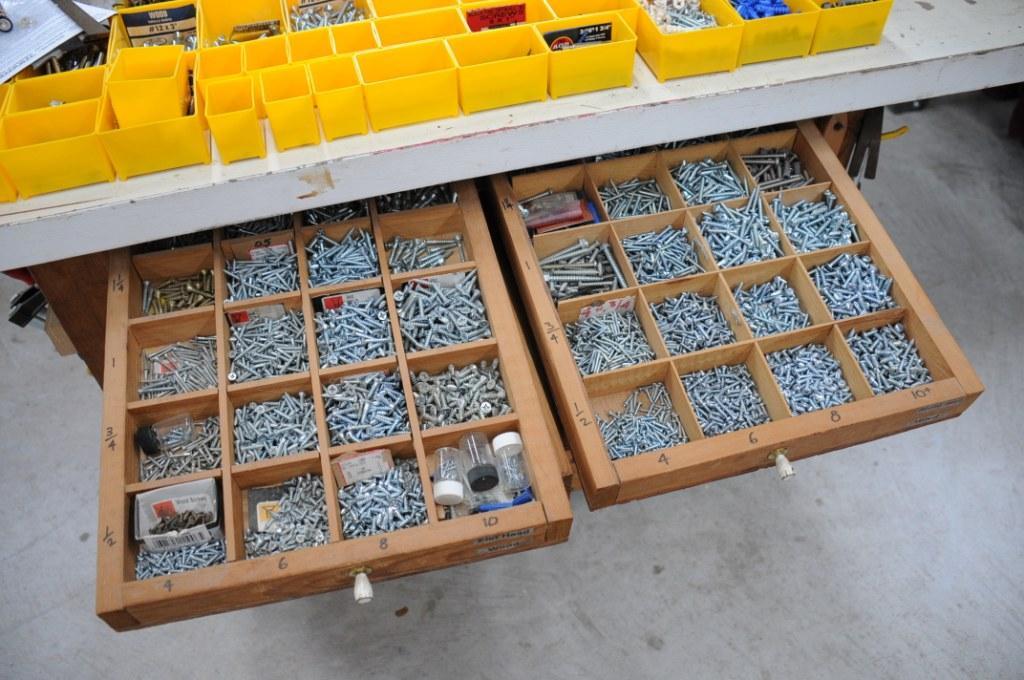
Not really a workbench, more an assembly table, but it’s where I do 90% of my bench work. I built it as a tool cart over 30 years ago. Clamped a solid core door on it once for an assembly project, and liked it so much I replaced the top tool tray with the door permanently. It’s not normally covered with tiny yellow bins. I’m in the middle of re-organizing all my fasteners from a myriad of diverse containers to these bins which will all go in drawers.
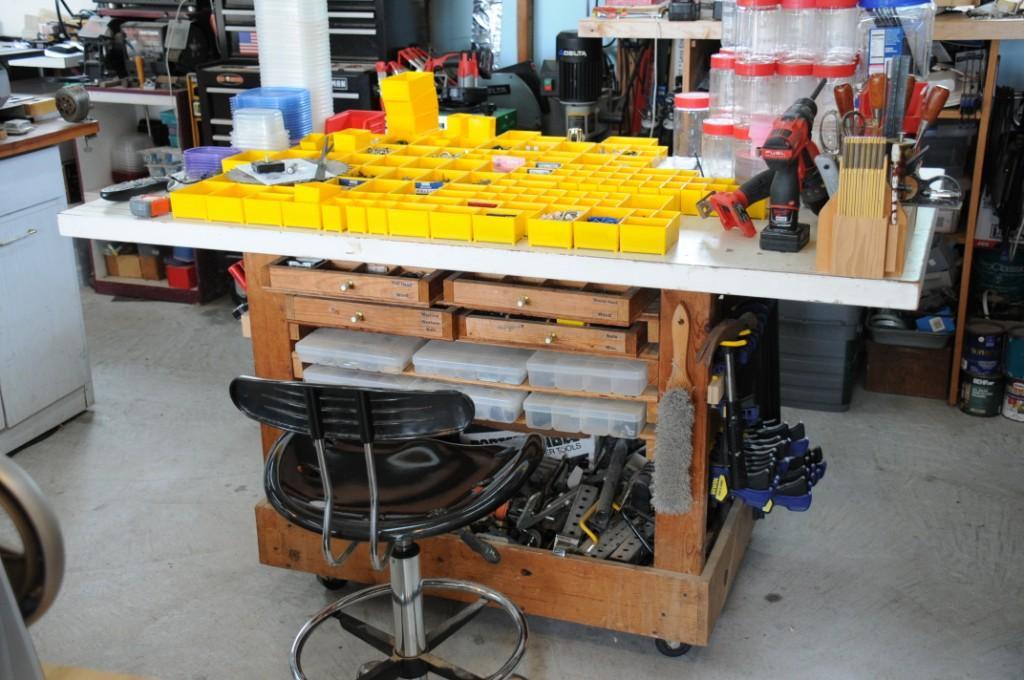
Later I added the shelves for fastener trays. And then the hangers on the sides for clamps. Eventually I’ll box in the space under the top and add drawers to replace all the junk currently stored there.
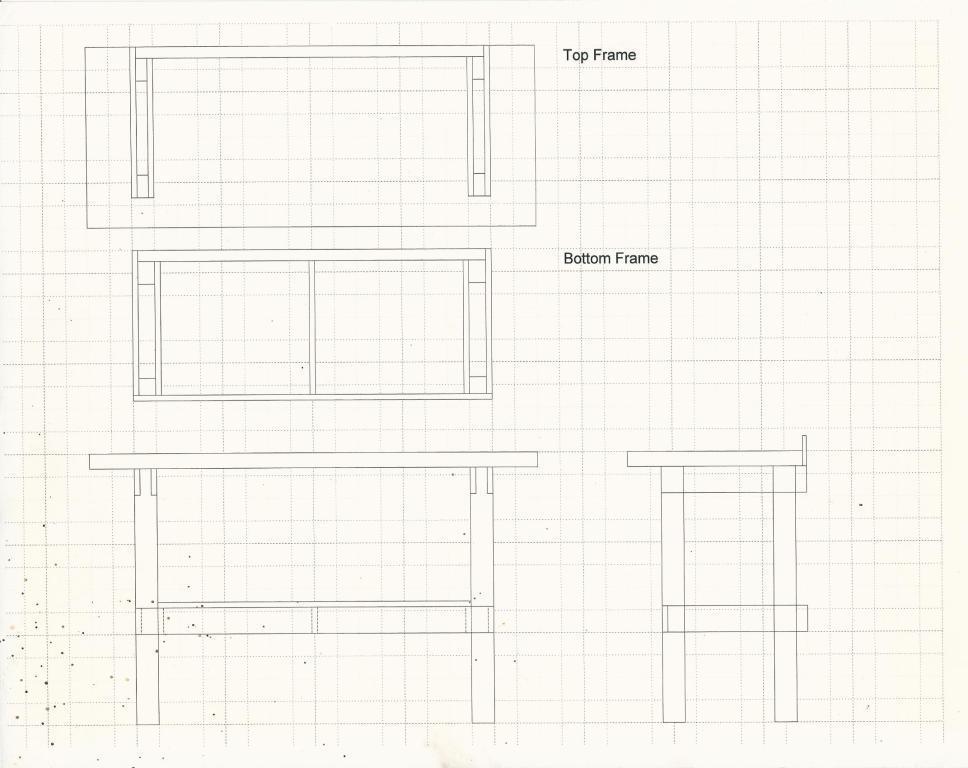
And just for fun, here’s the bench I’ve designed, and glued up and milled the stock for, but not yet assembled. It will complement, not replace my current assembly table/bench.
Beautiful - post pics when finished.

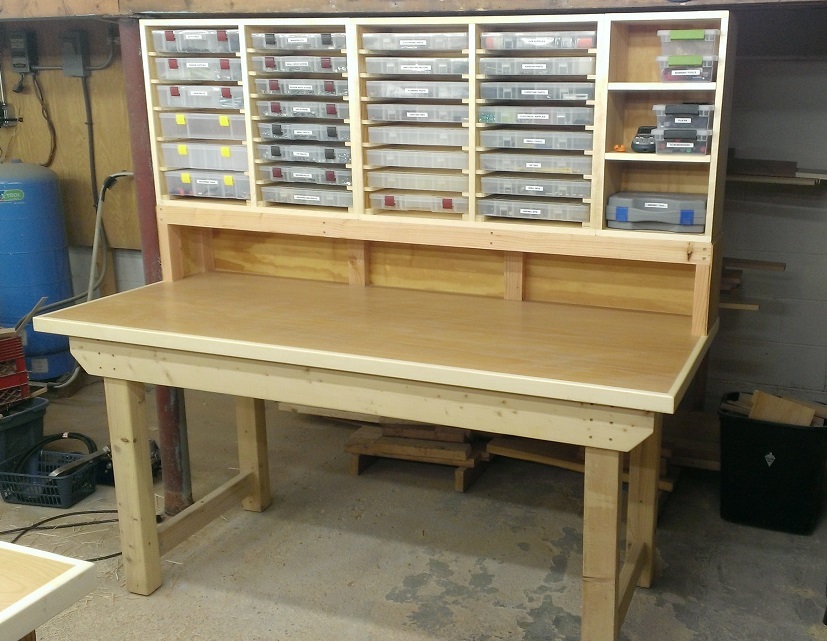
I started with Matthias Wandel’s version of the door and stud workbench and upgraded the legs to 4x4. I found a used and very heavy fire-rated door at the surplus store and trimmed the edges with some hardwood.
My bench top seemed to attract junk so I added a raised shelf to hold some custom storage bin cabinets. I once had a four-bin holder for Plano tackle boxes so I expanded on that idea upwards until I hit the floor beams. Back when Stuart had the organizer discussion last year I meant to post this one but didn’t have a good photo.
1 Like
Some sweet ideas, i have been putting together ideas of what i want for my work bench. Havent built one yet. Right now i just have a simple plastic lifetime table that the legs extend on. Being 6-2" i dont like to have to bend over to touch a 30" table
I love the look of that organizer backwall! Did you happen to take any pictures during the construction phase?
It must take forever getting projects done on that thing. Do you schedule an hour at the beginning just to stare at it  ?
?
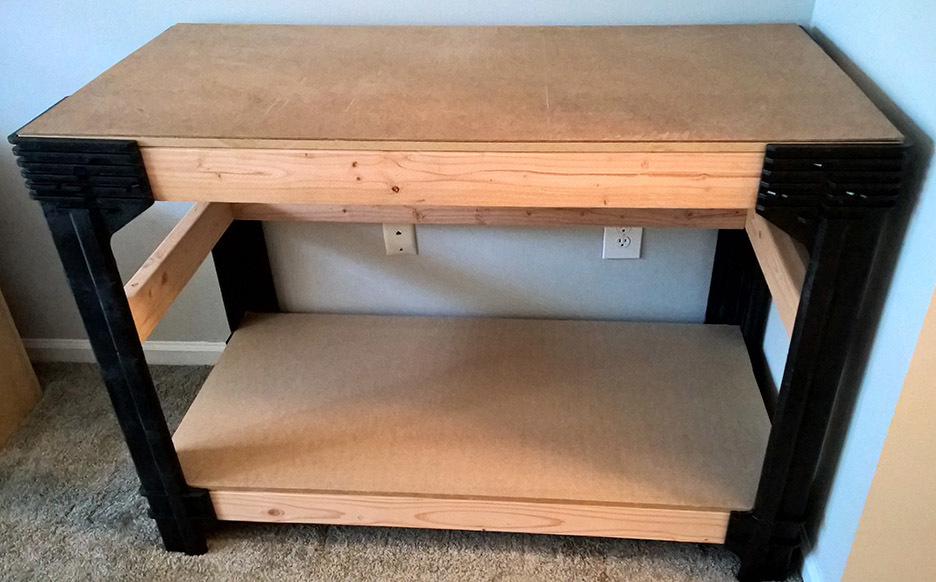
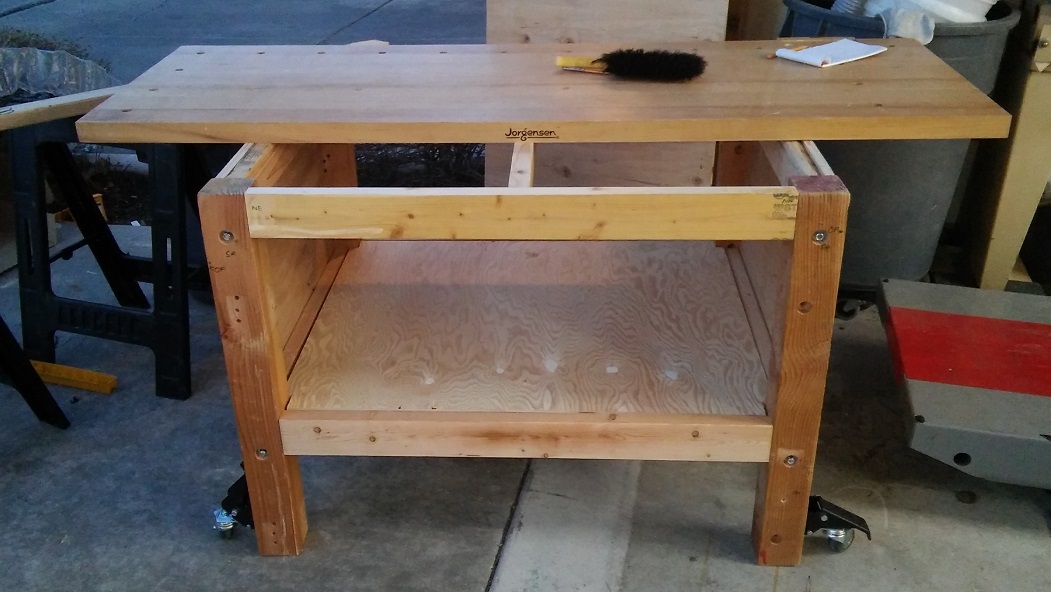
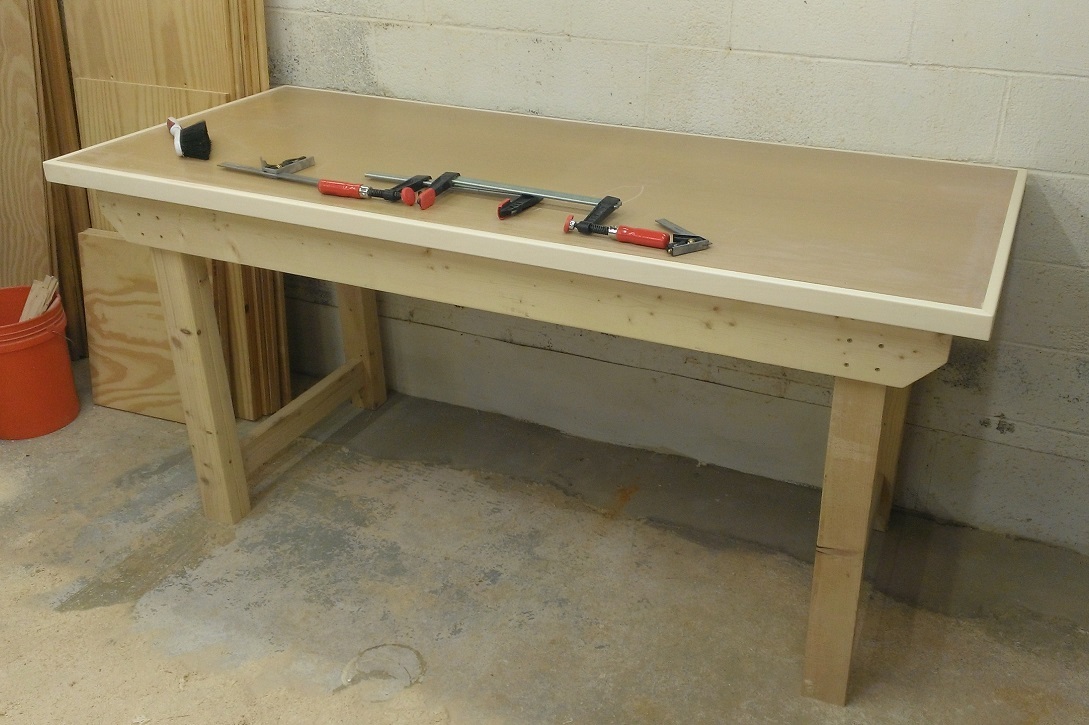
Apartment living is not very conducive to building a workbench. You run into a catch-22 where you need a workbench to build a workbench. So I cheated and took the easy way out. I ordered the kit from Amazon and had timbers cut at HD. Took me 2 hours to fully assemble by myself. I had a scrap piece of hardboard that I use to protect the structural MDF.
Not pictured, A set of shelves that I added for tool storage, and all the junk that it has since accumulated 
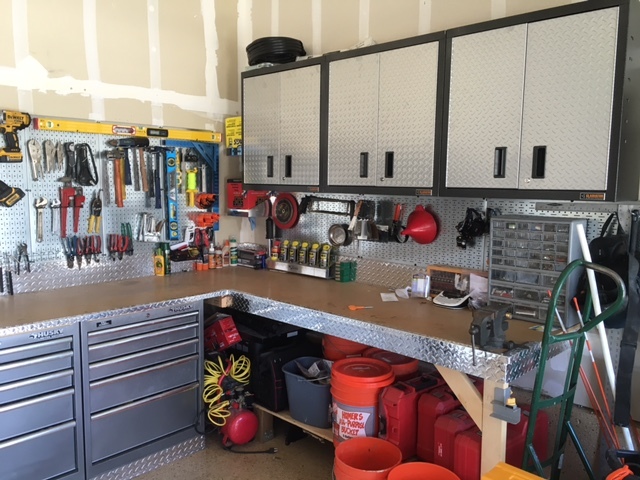
Custom built L-shaped workbench, built with husky 26" w tool chests. Hardboard on top, and edges, backsplash and kickplates finished with diamond tread aluminum that I cut to size on the table saw. Gladiator wall cabinets, wall control steel pegboard, and quantum tip out bins for parts storage. Only thing left to add (for now) is a shelf above the pegboard, a few outlets on the backsplash, and some additional ceiling/ under cabinet lighting.

1 Like
Here are a couple pics from assembly on the storage hutch. For the wall I made separate carcasses and stacked them together so I can break down the bench in the future. Each vertical has 2 1/4" wide strips made from 1/2" plywood. They are glued into 1/8" deep dados cut on the table saw at 2 1/4" apart, except the last stack which are wider to hold larger bins. The sides are actually parts cut from an old “solid wood cabinets” piece of furniture that turned out to be actually solid wood with a veneer.
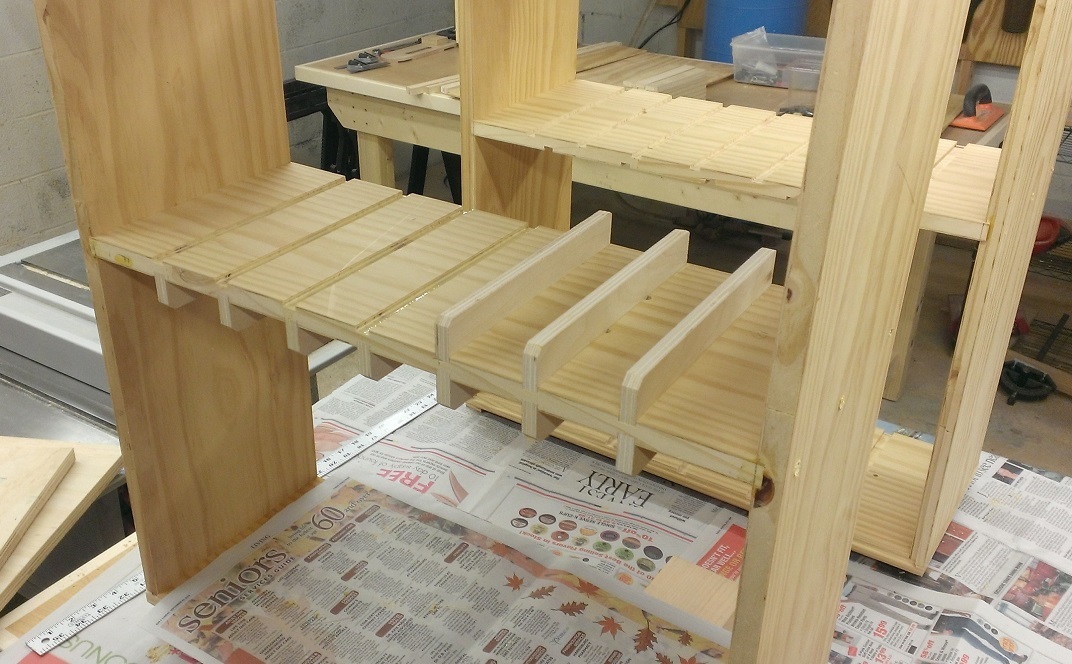

The support shelf is the same depth as the cabinets with middle supports only in the back so no table space is lost. I did the same as many others around the web and used framing 2x8’s that I ran over the jointer and ripped down on the table saw to get straight 3" pieces. Later on I added a plywood back to keep the tools from rolling off the end. The support is attached from under the table with some lag bolts and washers, with the boxes mounted to the top and screwed down to the cross supports.
I think for the third table I will do the same but have an open grid of shelf boxes to store power tools above the bench so they stop congregating in the way of projects.
